

Building your own backyard deck might sound intimidating, but these 10 DIY deck building steps that work will walk you through the entire process from start to finish, no contractor required. Whether you’re dreaming of a cozy spot for morning coffee or a full-size outdoor entertaining space, a well-built deck adds instant curb appeal and real value to your home. This guide breaks down every stage of deck construction into simple, beginner-friendly steps so you never feel lost or overwhelmed halfway through the build. By the end, you’ll have a sturdy, beautiful deck built with your own two hands, and the confidence to tackle your next outdoor project too.
If you’ve been searching for a DIY deck building tutorial that actually works, you’re in the right place, because this isn’t just theory, it’s a proven, step-by-step system pulled from real builds and real results. From planning your layout and choosing the right materials to setting posts, laying joists, and adding the final decking boards, each step is designed to save you time, money, and unnecessary trial and error. We’ll also cover the small details that make a huge difference, like proper spacing, drainage, and railing safety, so your finished deck doesn’t just look great, it lasts for years. Think of this as your complete roadmap for turning an empty patch of yard into a functional, stylish outdoor living space.
What makes these DIY deck building steps different is that they’re designed for real homeowners, not professional builders, meaning no fancy tools or advanced carpentry skills are required to get started. Each step builds naturally on the last, so you’ll always know exactly what to do next, whether you’re pouring footings, framing the deck, or applying that final coat of stain. This approach keeps the entire project manageable, even if you’re tackling it solo or with just one helper on weekends. By following this guide closely, you’ll avoid the most common deck-building mistakes and end up with an outdoor space that feels custom-built, because it is.
1. Plan Your Deck Layout & Design

Every successful deck project starts with a solid plan. Measure your yard, decide on the shape and size that fits your space, and sketch a rough layout showing where stairs, railings, and seating areas will go. Think about how you’ll use the deck daily, whether for dining, lounging, or entertaining guests, since this shapes every decision that follows.
Once your layout feels right, translate it into a detailed drawing with exact measurements. Consider sun exposure, privacy, and the flow between your home and yard. A well-thought-out design prevents costly mistakes later and gives you a clear roadmap to follow throughout the build, keeping the entire project organized and stress-free from day one.
2. Check Building Codes and Permits
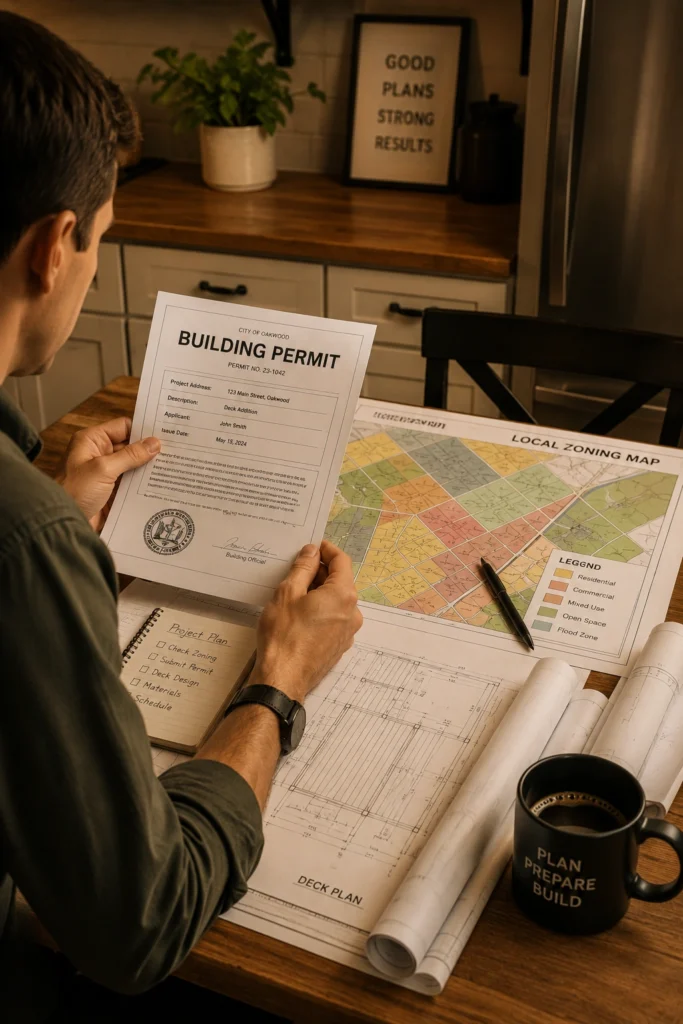
Before you swing a single hammer, contact your local building department to learn the codes and permit requirements for deck construction in your area. Rules vary widely by location and cover everything from footing depth to railing height and setback distances from property lines. Skipping this step can lead to fines or having to tear down completed work.
Most municipalities require a permit for decks above a certain height or size, so it’s worth the small fee and paperwork upfront. Schedule any required inspections early in your planning timeline. Following code isn’t just about avoiding penalties, it also ensures your deck is genuinely safe and structurally sound for everyday use.
3. Choose the Right Decking Material
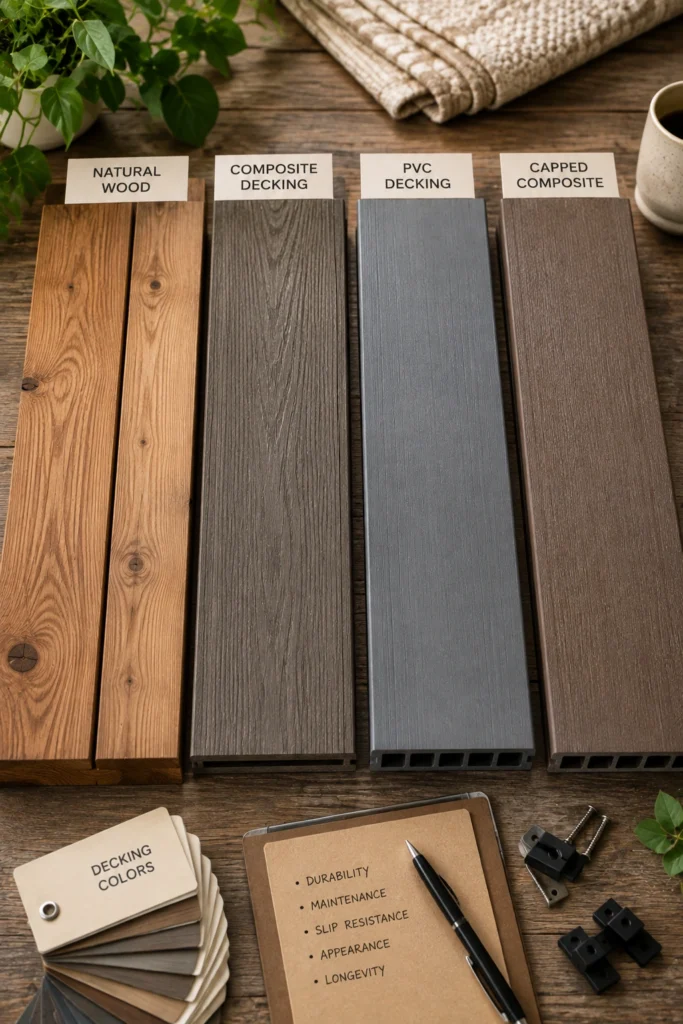
Selecting the right decking material affects your budget, maintenance routine, and how long your deck will last. Pressure-treated wood is affordable and classic, cedar offers natural beauty with some upkeep, and composite decking costs more upfront but resists rot, fading, and warping for decades. Weigh your climate, budget, and how much maintenance you’re willing to do.
Beyond boards, think about fasteners, joist tape, and railing materials that complement your chosen decking. Investing in quality materials now saves money on repairs later. Bring home samples if possible and view them in your actual yard lighting before committing, since color and texture can look different outdoors than in a showroom.
4. Prepare the Site
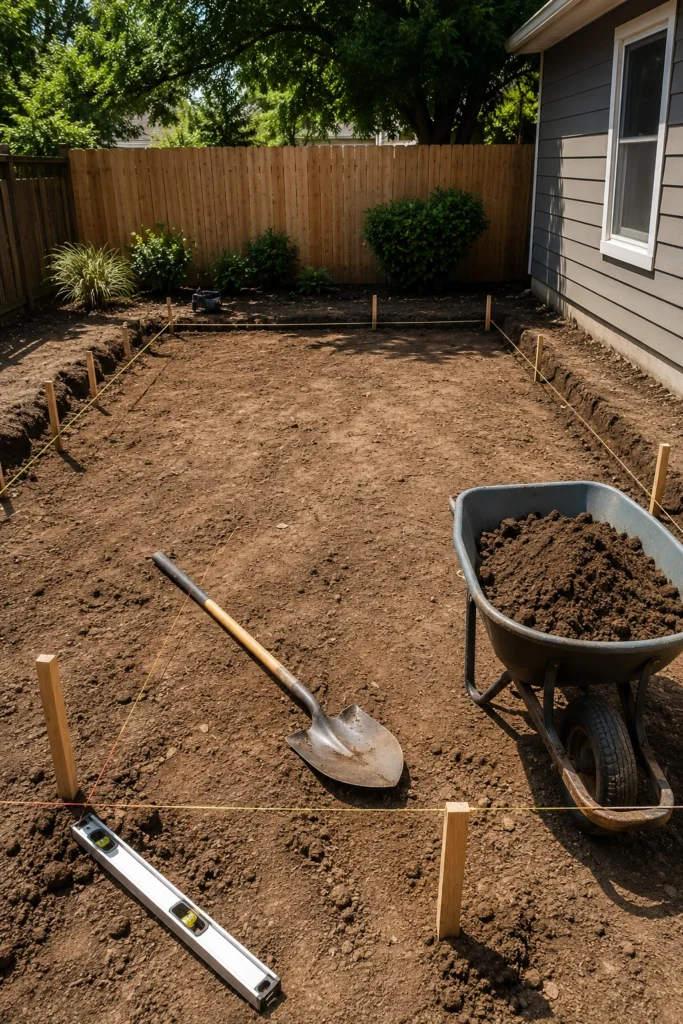
With permits secured and materials chosen, it’s time to prepare your build site. Clear away grass, rocks, and debris from the footprint area, then use stakes and string lines to mark the exact perimeter of your deck. Check for level ground and address any drainage issues now, since water pooling under a finished deck causes problems down the road.
If your deck will sit low to the ground, consider laying landscape fabric and gravel underneath to prevent weed growth and improve drainage. Double-check all measurements against your original plan before digging begins. A clean, well-prepared site makes every following step easier and helps your finished deck sit level and secure.
5. Set the Deck Footings
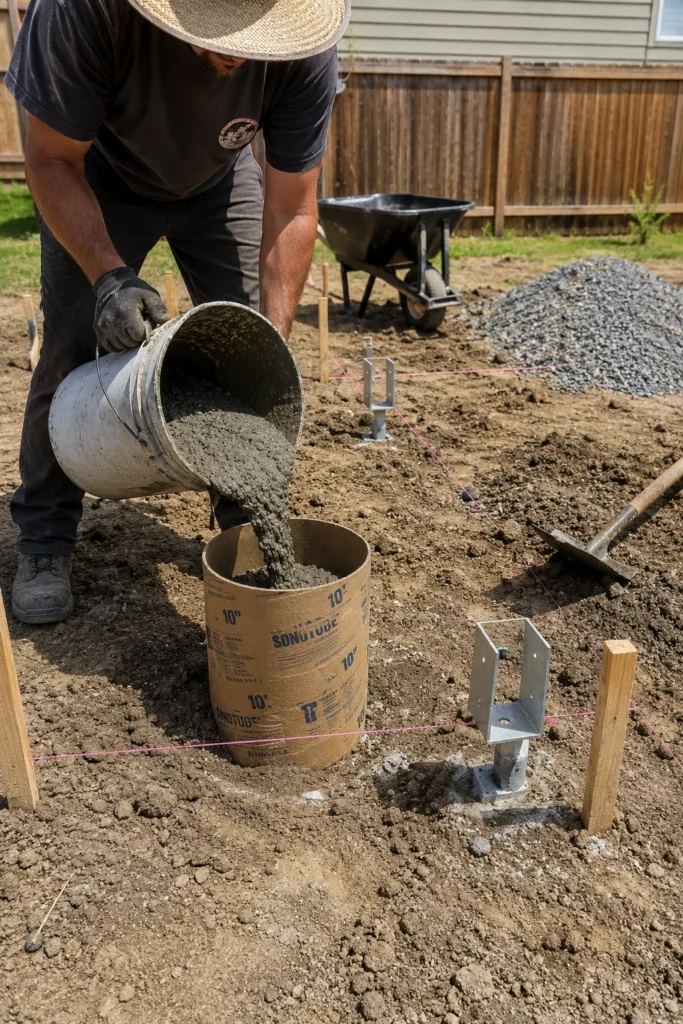
Footings are the foundation of your entire deck, so getting them right matters. Dig holes below your area’s frost line at each marked post location, then pour concrete footings using tube forms for clean, consistent shapes. Insert post anchors while the concrete is still wet so they’re securely embedded once everything cures.
Allow the concrete to cure fully before adding any weight, which typically takes a few days depending on weather. Double-check that each anchor is level and properly aligned with your layout plan. Strong, correctly placed footings prevent shifting, sagging, or structural issues later, making this one of the most important steps to get right.
6. Install the Ledger Board
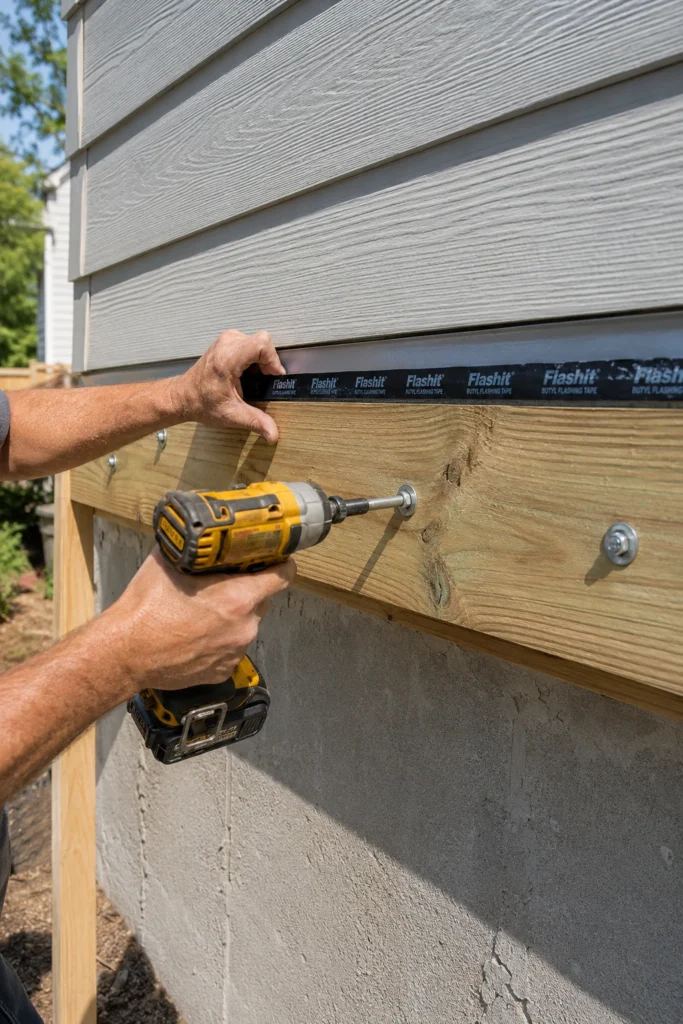
The ledger board connects your deck to your house and carries significant structural weight, so precision here is critical. Attach it securely to the house rim joist using proper lag bolts or structural screws, making sure it’s perfectly level. Add flashing above the ledger to direct water away and prevent rot where the deck meets your home.
Use a stud finder to confirm you’re anchoring into solid framing, not just siding. Many failed decks trace back to a poorly installed ledger board, so take your time here. Once secure and properly flashed, this board becomes the sturdy anchor point that the rest of your deck frame will build outward from.
7. Build the Frame (Joists & Beams)
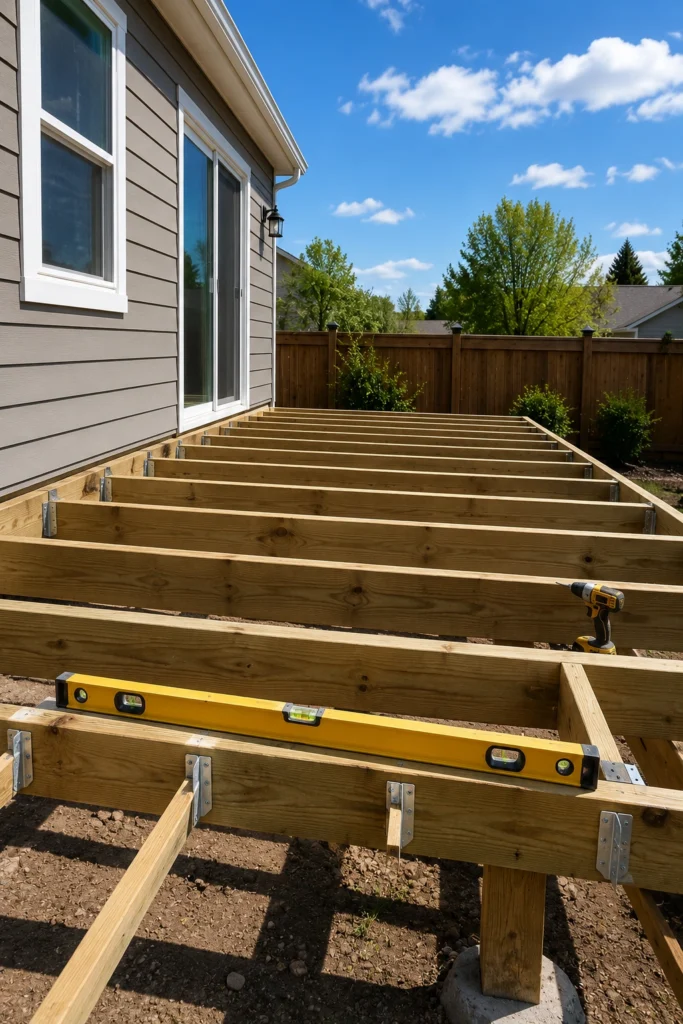
With footings and the ledger board in place, it’s time to build the skeleton of your deck. Install support posts, beams, and joists according to your plan, using joist hangers for strong, code-compliant connections. Space joists evenly, typically 16 inches apart, and double-check everything is level as you go to avoid a bumpy final surface.
This is the step where your deck really starts taking shape, and accuracy now prevents headaches later. Use a speed square and level constantly to ensure square corners and even spacing. Once the frame is solid, secure, and level, you’ll have a sturdy platform ready to support your decking boards.
8. Install Decking Boards
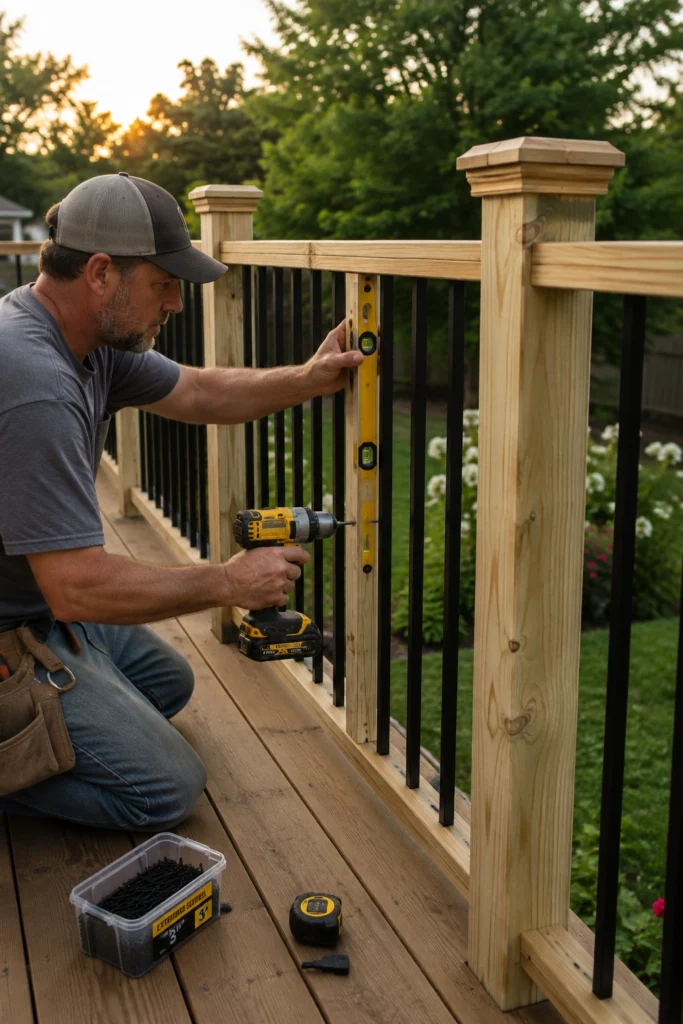
Now comes the visually rewarding part: laying your decking boards. Start from the house and work outward, using spacers to keep consistent gaps for drainage and natural wood expansion. Secure each board with screws or hidden fasteners, depending on your chosen material, and periodically check that rows stay straight and evenly spaced across the frame.
Trim overhanging board ends with a circular saw once everything is installed for a clean, finished edge. Take care with board direction and pattern if you want a herringbone or diagonal look. This step transforms your framework into an actual usable surface, and it’s often the most satisfying part of the entire build.
9. Add Railings and Balusters
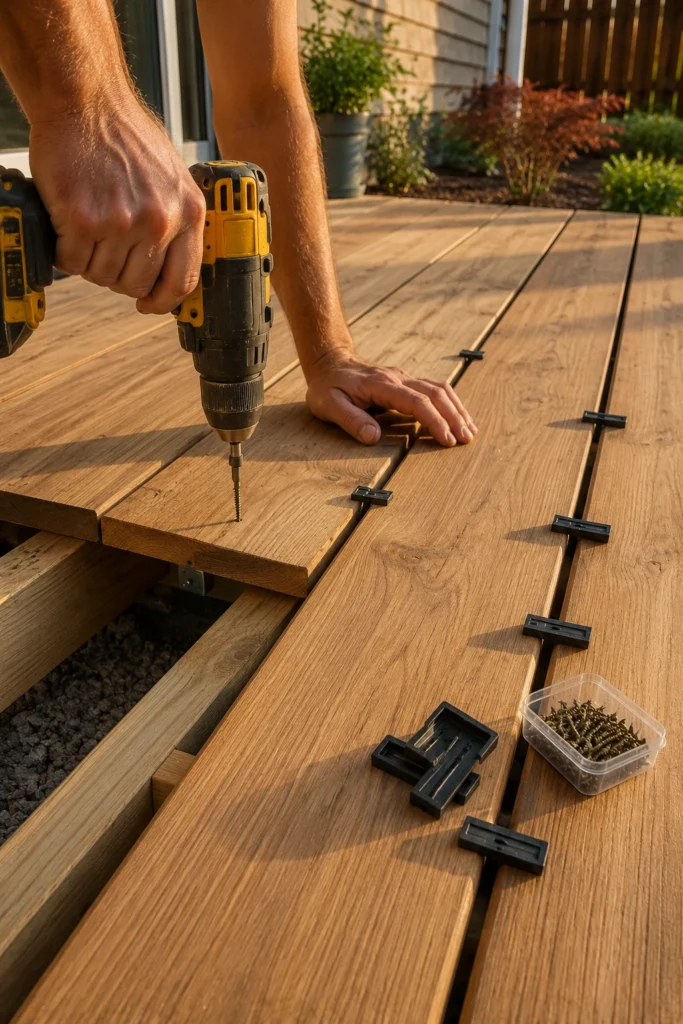
Railings aren’t just a safety requirement for elevated decks, they also define the overall look of your space. Install sturdy posts first, bolting them securely to the frame, then add horizontal or vertical railings and evenly spaced balusters according to your local code’s maximum gap requirements. Consistent spacing gives a polished, professional appearance.
Consider your style here, whether classic wood balusters, sleek metal cables, or glass panels for an unobstructed view. Sand and smooth any rough edges for safety and comfort. Once railings are firmly attached and double-checked for stability, your deck starts feeling like a genuinely finished, safe outdoor living space.
10. Add Stairs and Finishing Touches
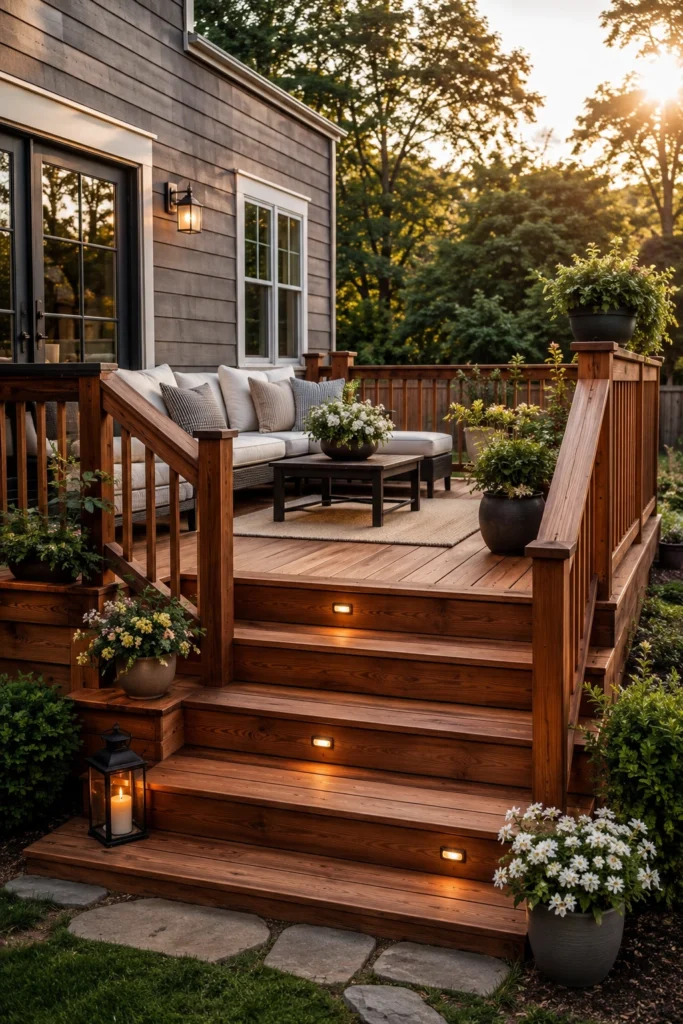
If your deck is elevated, building stairs is essential for safe, easy access to your yard. Calculate rise and run carefully so each step is even and comfortable to walk on, then attach stringers securely to the deck frame before adding treads. Double-check stair railings meet your local code requirements for height and spacing.
Finally, add the finishing touches that make your deck feel complete: sand rough spots, apply stain or sealant for weather protection, and style the space with furniture, planters, and lighting. Step back and enjoy the results of your hard work, you’ve built a beautiful, functional outdoor space entirely with your own hands.